I'm not quite ready to get an off-camera flash yet, let alone drop hundreds of dollars on a ringflash. I had read about a number of home-made ringflash setups on diyphotography.net so I set out to build my own ringflash that utilises the in-built camera flash, assembled with a few hours of work:
(click for images for larger versions throughout this post)
It forced me to be a bit more disciplined in terms of getting the shutter/aperture/flash exposure ratios correct. In macro or close-up shots, it casts soft shadows. One of neat techniques I'd had suggested to me was to get someone standing against a solid coloured surface, with the ringflash casting soft illumination and fuzzy, warm shadows behind the subject.

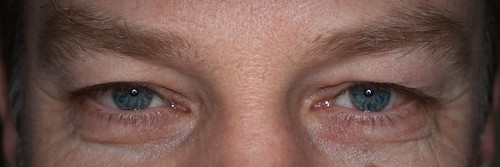
Another neat effect is to get close up if the subject has reflective surfaces - note the awesome circular reflections you get in the pupils of eyes.

Construction
Since I already had the materials, the whole thing cost $0. The design was largely based on this setup, which uses an off-camera flash as a light source. As I mentioned previously, I really wanted to use the in-built flash, so I set about designing my own. The materials I used:
- Yoghurt tub (though any bowl-shaped object with slightly sloping sides and a diameter of 7-8cm and a depth of at least 10cm will probably do)
- Aluminium foil (mylar would probably have been better)
- Sturdy cardboard
- PVC glue
- Electrical tape (any opaque tape will probably do)
- Stanley/x-acto knife
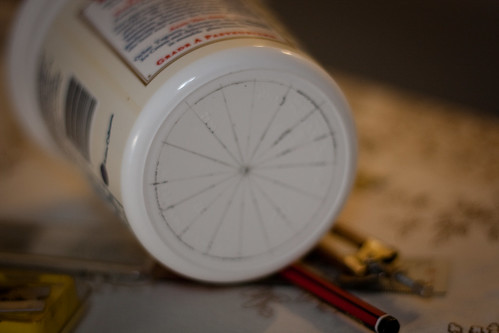
First step is the yoghurt tub. I drew a circle at the base that was a little (3-4mm) bigger than the diameter of the lens that it was to fit around, and drew radii on it - 16 segments is probably ideal. The important thing to do here is to cut the plastic along the radii, but only to gently score the circumference.
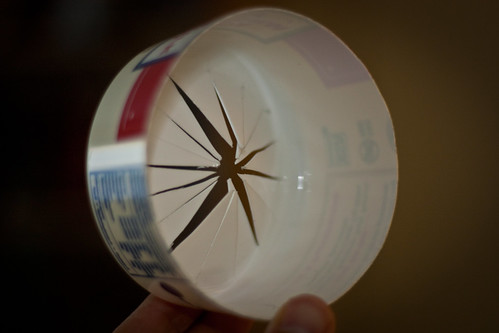
Once you've made the cuts, gently push the segments inwards and the plastic should fold easily along the scored circumference. Cut the top off the tub at a height that should be equivalent to the desired depth of the flash - I found 9-10cm ideal.
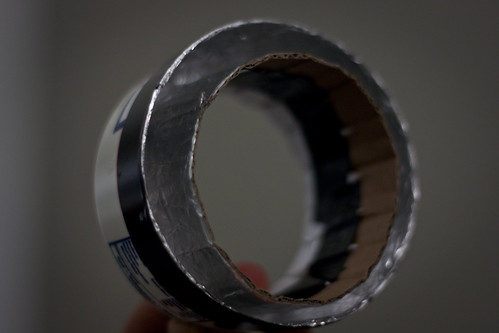
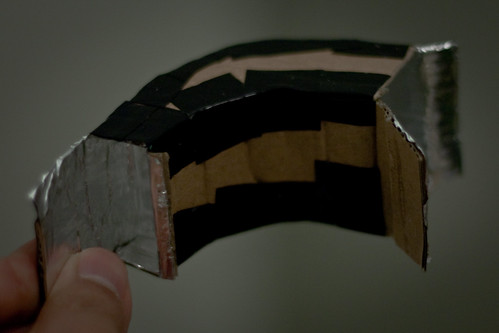
I was amiss not to have taken more photos of this step. I slid the lens into the hole at the bottom of the container, pushing the cut segments inwards. I took a length of cardboard and wrapped it around the segments to get the size for my inner reflector. I unwrapped the cardboard, and cut it to size. Using a light layer of PVC glue evenly spread over one side, I glued foil to the unrolled cardboard.
Measure out a length of foil that will cover the inside radius of the tub; ensure you have a little bit extra on the bottom end so it will also cover the inside bottom of the container. I again used a light layer of PVC glue and then attached the foil to it, making sure I also covered the inside base of the container.
Once the glue dried, I then attached cut segments to the cardboard using short strips of electrical tape - PVC didn't cut it here for attaching the stiff, non-porous plastic to the porous cardboard. I also used electrical tape to neaten up the edges of the foil around the outer edge of the container.
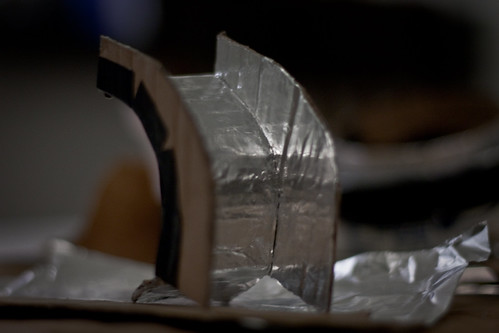
The light scoop for the flash down to the base was a lot more ad-hoc in terms of construction. I slid the assembled base on on to the lens, and traced out two curves from the flash down to the base to describe the sides of the scoop, as well as two flat pieces for the top and bottom. These were cut out, and like the base the foil was attached with a thin layer of PVC glue. Once this had dried, the base of the scoop was attached to the side using several short strips of electrical tape.
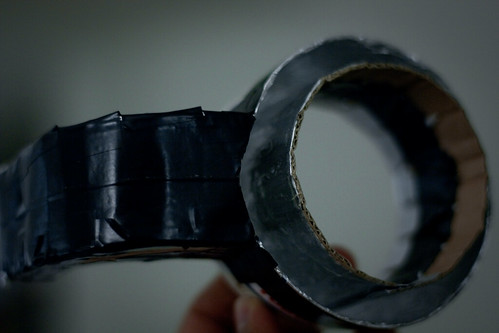
Completed scoop - the sides are completely sealed with tape to ensure no light will escape.
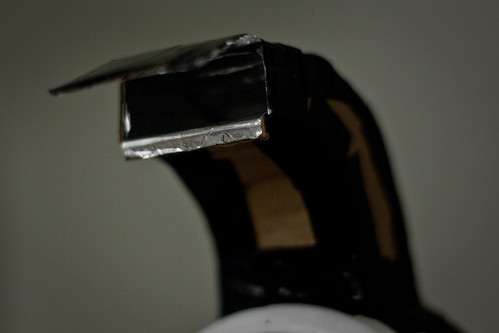
The scoop was measured against the base, and a hole about 1mm narrower than the scoop exit was cut out of the base. The scoop was attached in a similar fashion to the scoop assembly, using tape to prevent any light leakages.
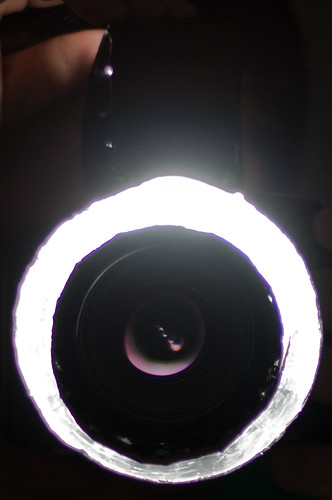
The ringflash itself produces a bit of a hotspot close to the attachment between the scoop and the base. Hopefully I'll be able to work out a way to prevent that in the next revision :)
Results
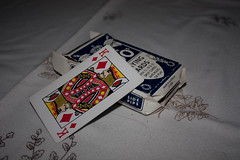
Left: inbuilt flash, right: ring flash
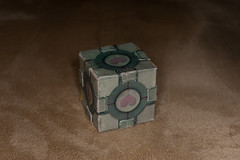
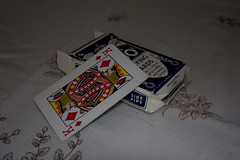
Left: inbuilt flash, right: ring flash
In both these comparison shots, I used the same exposure, aperture, and flash settings - firstly with the inbuilt flash, and secondly with the ringflash attached. The ring flash does decrease the output of the flash, so I think in this configuration it's best suited as a fill-flash when the subject is already reasonably well lit. The softness and diverging light emitted seemed to help cast softer, wider shadows that would otherwise be possible.
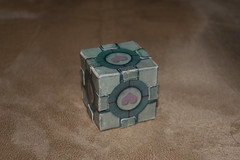
In the top photos, the rough folds of the tablecloth are smoothed out a little without the harsh shadows cast by the inbuilt flash. In the bottom photos, where I was aiming for a macro shot, the ringflash seems to actually brings in shadows, whereas the head-on inbuilt flash casts sharp shadows hidden behind the subject.
As it stands, there are a lot of tweaks to be made, and I learned a bunch from this first revision of the experiment. I'm looking forward to better, future versions :)
